A cheat sheet for novice PC builders
Hello, everybody, dear friends. Good to see you! Today's article is aimed at those who want to build their own computer from scratch, but have no experience in this case. Everyone has gone through these mistakes, including myself, and of course, you can add to this list in the comments. And here we go!
Chapter 1: Choosing components
Keep the balance!
A good system should not have a serious bottleneck. Let's say, you should not put 4 gigabytes of RAM in a top-end computer, just like you should not put, for example, a Pentium in pair with a 2080. The tests are elementary, but they will help you to build a balanced system.
RAM
As for RAM, there are two axioms: volume and bandwidth. If there are no questions with the volume, then the bandwidth is affected by several factors at once:
- Frequency (higher is better)
- Timings (lower - better)
- Number of channels (more is better)
The presence of heat sinks is optional and serves only for visual component. But two-channel, as practice shows, gives a very serious increase in bandwidth.
Planks should be inserted into channels A and B, into Dimm 0 slots. Despite the fact that this scheme - the most popular, on different motherboards can be located in a different order.
This, by the way, to those who think that it is better to put 16 gb one bar, and later to buy another one. If the DIMM slots on the motherboard is only 2 - it is better to put 2X8, because 16 gb will be enough for another three years, if the slots are 4 - do not even bother - put 2X8 and forget it.
Power supply
A very gross mistake is the choice of a power supply "for change". The power supply is the heart of the computer (this is the most apt comparison), and its quality determines both durability and the number of surviving components in case of a bang (xas, hello!).
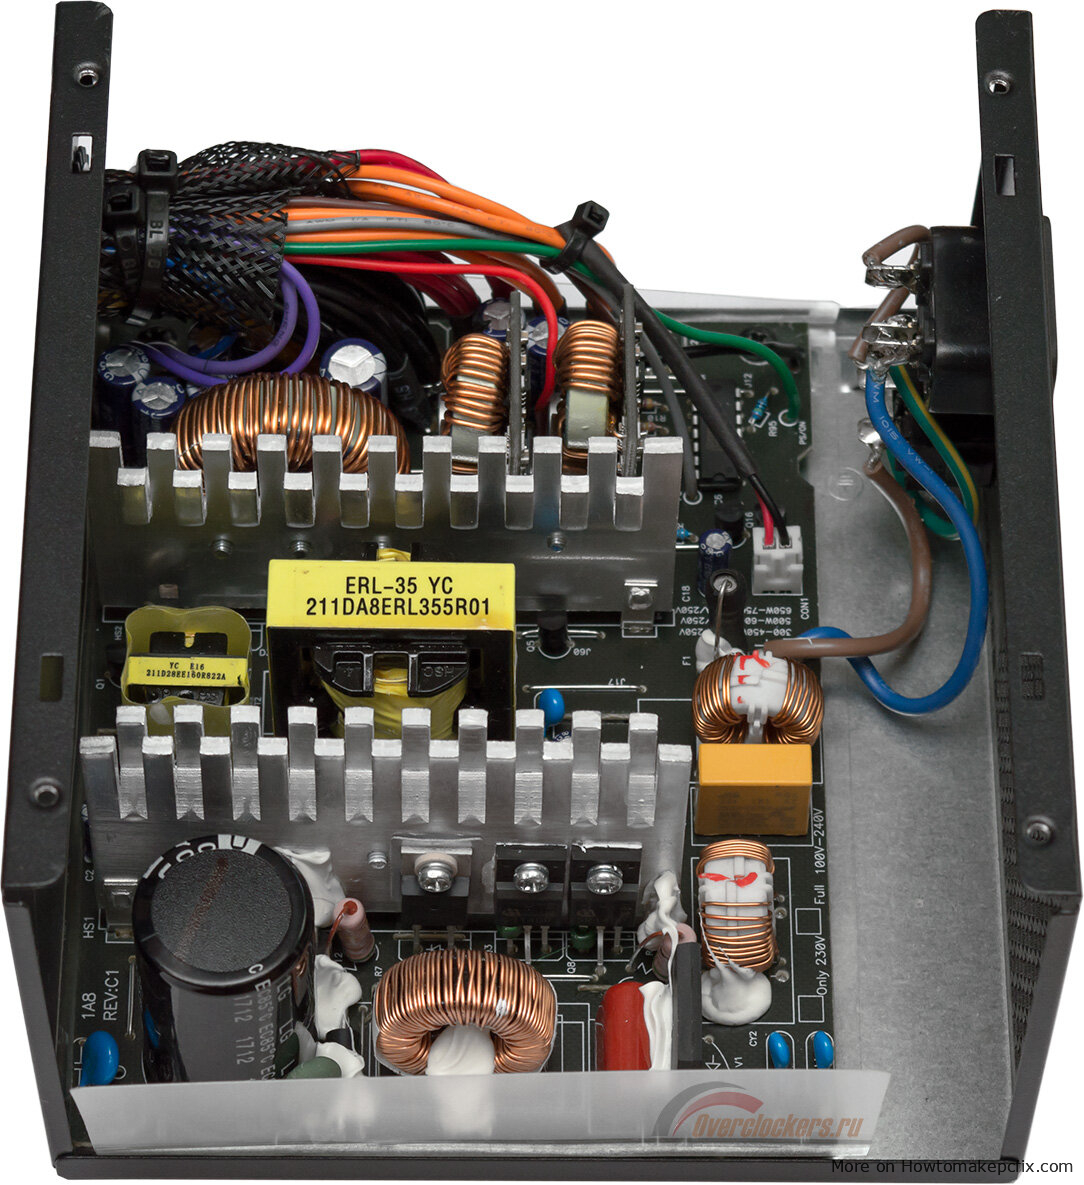
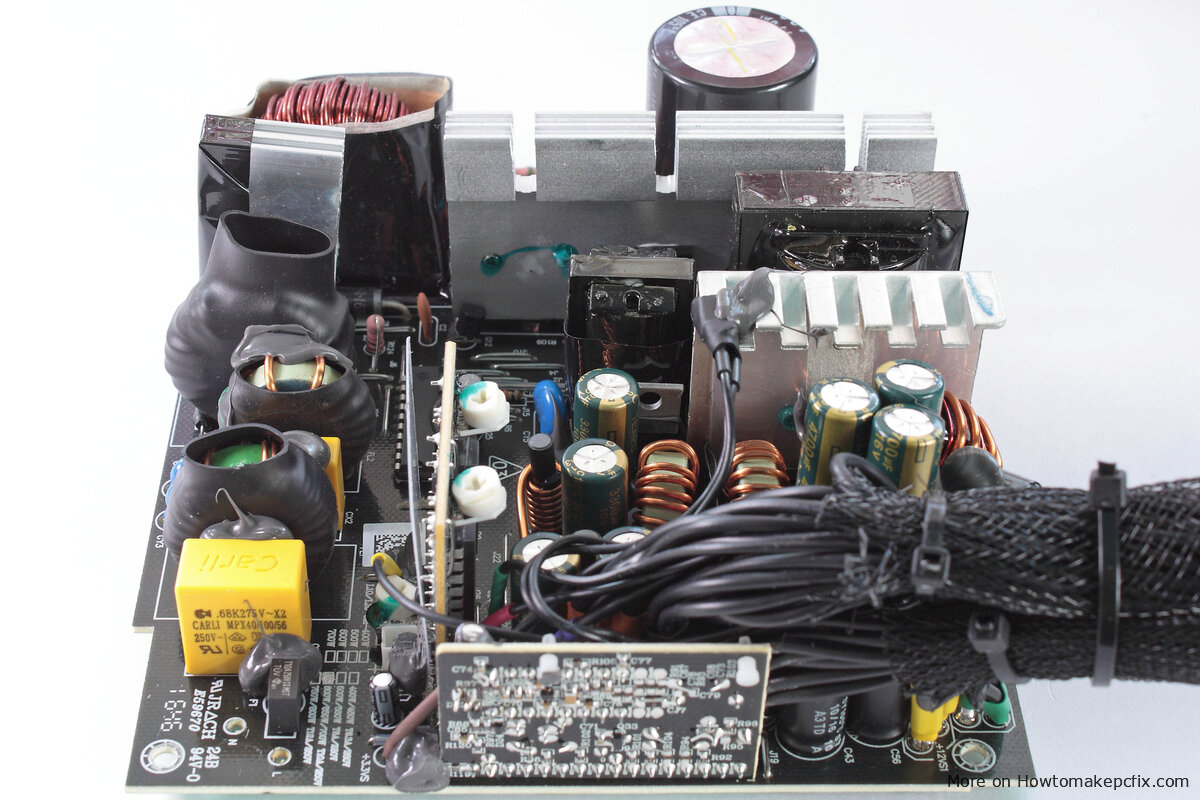
This is what the KCAS power supply looks like...
First of all, you should pay attention to the number of protections. Then - on the power supply unit stuffing, power on 12V line, availability of certification.
To calculate the power of the system will help calculator - the link to it I will leave at the end of the article, but you can find and choose yourself - different calculators show different values (which is strange).
In general, to have an approximate idea of the system power, TDP data will help. This is the power dissipation, which is directly related to consumption.
The optimal range of load on the power supply is from 50% to 80% of the power on the 12V line.
Be sure to take into account the dimensions of components
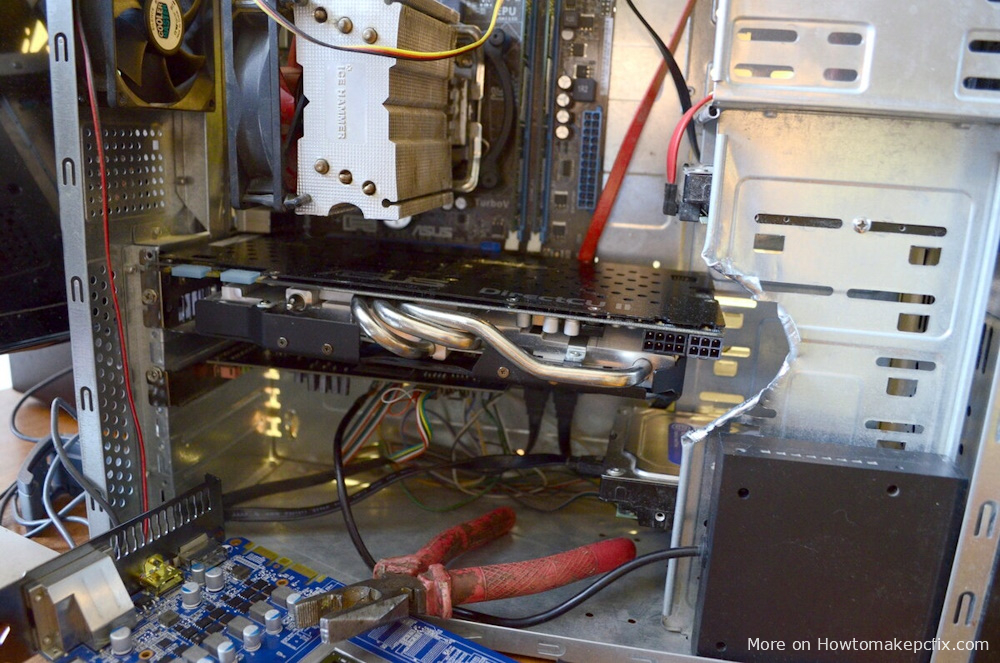
This is especially true when upgrading old PCs, when all the hardware is changed except for the case. Pay attention to the length of the video card, as well as the maximum height of the CPU cooler: they should be at least 10 mm larger than the components.
This is a good example of what lack of attention to dimensions leads to
This approach will allow you to insert hardware even if the manufacturer has incorrectly specified the maximum length of the video card or the height of the CPU cooler (and it happens).
Chapter 2: The Assembly Phase
Always check the plug before installing the motherboard so that you don't have to reassemble everything!
Thermal paste
There are already legends on the Internet about how to properly apply thermal paste. I am not a supporter of any "special" ways, and always squeezed a small drop on the middle of the heat spreader cap. Even if the thermal paste will not be on the corners of the cover - it's not a big deal, because the processor crystal is much smaller than the cover in terms of area.
As a rule, each of the methods leads to the same result.
What I can say for sure is that you don't need too much thermal paste. A small drop on the center of the processor will be enough, because if you put too much thermal paste on it, you risk getting high temperatures (the thermal conductivity of any thermal paste will be lower than that of the copper processor cover).
Use of force
In computer assembly, force is a superfluous concept. Everything should be assembled "like a constructor", so there is no need to break or push anything in.
Assembling the kit before installation
This will simplify your life many times over. Before you install the motherboard into the case, it makes sense to put the CPU and cooler on it. Not all coolers are top-mounted, and most coolers are screwed on with nuts on the back side of the motherboard (where the backplate is), so it will not be possible to screw them on if the motherboard is installed in the case.
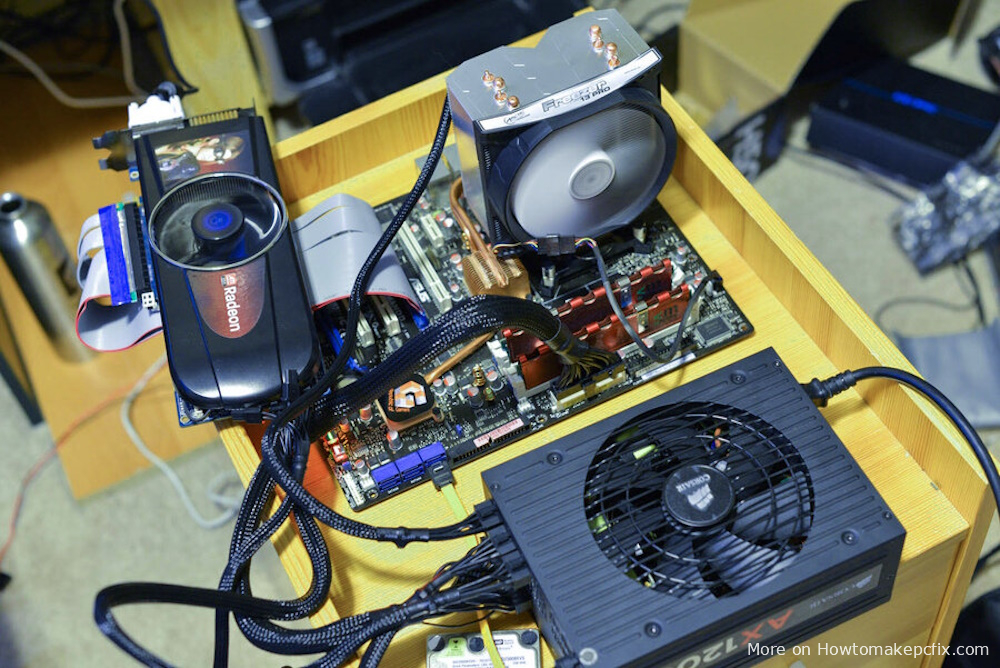
Even if the cooler is a box cooler, it is still more convenient to install it on a table than in the case. In addition, I recommend installing the RAM before the kit is in the case.
Saving Screws
As strange as it may seem, I have often dealt with computers that are built "on the fly and on one wing". Once I had a copy in which the motherboard was screwed on only 1 (!) screw.
Of course, no one forbids you to assemble your computer poorly, but I still advise you to screw all the screws. It's longer, but it gives you an idea of the quality of the assembly.
Using unsuitable cooling systems
This mistake is most characteristic of those who assemble a computer literally for the first time. Here you should realize that there is a huge number of PC cooling solutions on the market for a reason - there are box cooling systems, tower cooling systems, top-flow cooling systems, and even water cooling systems!
And as sad as it is, not all processors warm up the same way. I've already had a guide on how to choose a cooling system for your PC, and we've also looked at how a tower cooler works.
As for the assembly, pay attention to the TDP of the processor, and take the cooler already under it. It is possible with a small reserve. The larger the margin, the lower the noise level will be. The noise level is also affected by the fan used. The quietest ones are on a hydrodynamic bearing. The loudest ones are on ball bearings (they are not produced for a long time, but they may still be sold somewhere).